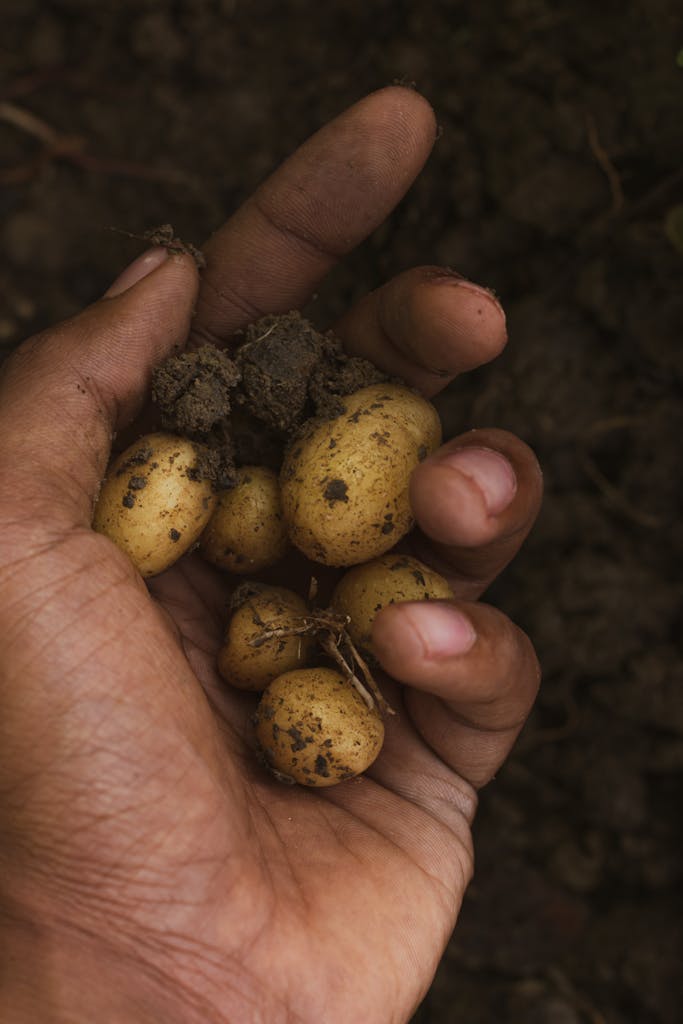
Welcome, fellow potato enthusiasts! If you’re here, it means you’re ready to embark on a journey to grow your very own spuds. Whether you’re a seasoned gardener or a newbie with a green thumb, this guide will help you grow potatoes that will make your friends and family say, “Holy mashed potatoes, Batman!” So, grab your gardening gloves and let’s get started.
Contents
Why Potatoes?
First things first, why should you grow potatoes? Well, potatoes are like the Swiss Army knife of the vegetable world. You can bake them, fry them, mash them, and even turn them into vodka (not that we’re encouraging that, of course). Plus, they’re relatively easy to grow and can be quite rewarding. Imagine digging up a treasure trove of spuds from your garden – it’s like finding buried gold, but tastier.
Choosing the Right Potatoes
Before you start planting, you need to choose the right type of potatoes. There are three main categories: early, mid-season, and late-season potatoes. Early potatoes are like the sprinters of the potato world – they grow quickly and are ready to harvest in about 10-12 weeks. Mid-season potatoes take a bit longer, around 14-16 weeks, and late-season potatoes are the marathon runners, taking up to 20 weeks to mature.
For beginners, we recommend starting with early potatoes. They’re less likely to encounter pests and diseases, and you’ll get to enjoy your harvest sooner. Some popular early varieties include ‘Yukon Gold,’ ‘Red Norland,’ and ‘Irish Cobbler.’
Preparing the Soil
Potatoes are like the Goldilocks of the vegetable world – they want their soil to be just right. They prefer well-drained, loose soil with a pH between 5.0 and 6.0. If your soil is too heavy or clay-like, consider adding some compost or sand to improve drainage. And remember, potatoes are heavy feeders, so mix in some organic matter or a balanced fertilizer to give them a good start.
Planting Your Spuds
Now comes the fun part – planting your potatoes! Start by cutting your seed potatoes into pieces, making sure each piece has at least one “eye” (the little sprouts that look like they’re winking at you). Let the cut pieces dry for a day or two to prevent rotting.
Plant your potato pieces about 4 inches deep and 12 inches apart in rows that are about 3 feet apart. As your potato plants grow, you’ll need to “hill” them by mounding soil around the base of the plants. This helps protect the developing tubers from sunlight and encourages more tuber growth. Plus, it gives you an excuse to play in the dirt – win-win!
Watering and Care
Potatoes are like the Goldilocks of the vegetable world – they want their water to be just right. Too much water can cause the tubers to rot, while too little water can lead to small, misshapen potatoes. Aim to keep the soil consistently moist but not waterlogged. A good rule of thumb is to water deeply once a week, or more often if you live in a hot, dry climate.
Keep an eye out for pests like potato beetles and aphids, and remove them by hand or with an organic insecticide if necessary. And don’t forget to weed regularly – potatoes don’t like competition, and weeds can steal nutrients and water from your precious spuds.
Harvesting Your Potatoes
The moment you’ve been waiting for – harvest time! Early potatoes can be harvested when the plants start to flower, usually around 10-12 weeks after planting. For larger, mature potatoes, wait until the plants have died back and the foliage has turned yellow and withered.
To harvest, gently dig around the base of the plants with a garden fork or shovel, being careful not to damage the tubers. Brush off any excess soil and let your potatoes cure in a cool, dark place for a week or two to toughen up their skins. This will help them store better and last longer.
Storing Your Spuds
Once your potatoes are cured, store them in a cool, dark, and well-ventilated place. Avoid storing them in the fridge, as the cold temperatures can turn the starches into sugars, making your potatoes taste sweet and weird. A basement or root cellar is ideal, but a paper bag in a cool pantry will work too.
And there you have it – your very own spud-tacular guide to growing potatoes! With a little patience and care, you’ll be enjoying homegrown potatoes in no time. So go forth, plant those spuds, and may your harvest be bountiful and delicious.